This guide will provide instruction on how to create assignments in Moodle
Creating an Assignment
- Navigate into the course you would like to create an assignment for.
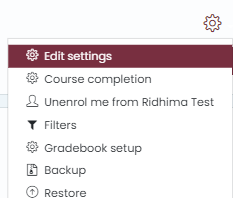
- Click the cog icon on the right side of the page and click "Turn editing on" from the drop-down menu
- Scroll to the section that needs an assignment added to it
- Click "Add activity or resource"

- Pick an assignment type from the list, then click "Add" at the bottom of the window. (For this example, we will use "Assignment")
- You will now be met with many options to customize your assignment. To start, enter a name for your assignment in the first text box
Description
- You have the option of creating a description of the assignment that your students can read, below the assignment name
- Below the description box, you will find a drop box for "Additional Files". This is where you can upload any files or documents related to the assignment
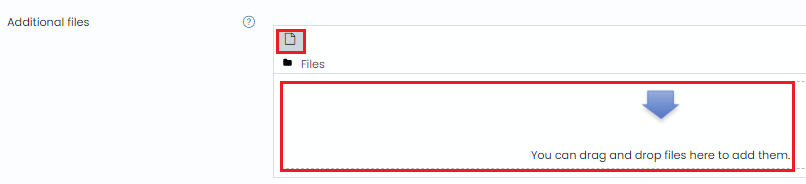
- You can either drag your file and drop it in the box to upload, or click the file icon on the top left and manually search for it to upload.
Availability
- Under the Availability heading, you can enable and set the date the assignment will become available, the due date, and an automatic cut-off date.

Grade
- Under Grade, you will be able to set the maximum grade for this assignment, the grade type, method, and category if your grade book is setup with one

- When finished with customizing the assignment, scroll to the bottom of the page and click "Save and return to course", or "Save and display" to view the assignment afterwards.

This work by Kwantlen Polytechnic University (KPU) is licensed under a Creative Commons Attribution-NonCommercial 4.0 International License.